INSTALL YOUR eSIM
Important Reminders:
To install an eSIM, make sure your phone is eSIM ready and network unlocked here.
• When activating an eSIM, you must have a stable Wi-Fi connection for the installation to be successful.
• Your eSIM's data usage and validity won't be affected if you install it before you travel; however, there are a few exceptions
• Your eSIM will only be activated when you arrive at your destination, and the validity begins as soon as you connect to a local carrier. If the eSIM is valid in more than one country, it will work in any of them.
iOS 17 Updates 🍎
With the introduction of iOS 17, Apple has brought some significant improvements that will enhance your connectivity experience using the eSIM.
1. No More Data Roaming Hassles:
For iOS 17 and Above Users: Travelers no longer have to manually activate data roaming; they can effortlessly access services upon reaching their destinations.
*Users with older iOS versions still need to manually enable data roaming when traveling.
2. Easy eSIM Activation:
Setting up an eSIM has become easier than before. Instead of tedious process of manually inputting the codes or needing additional devices to scan the QR code, you can simply follow the below steps:
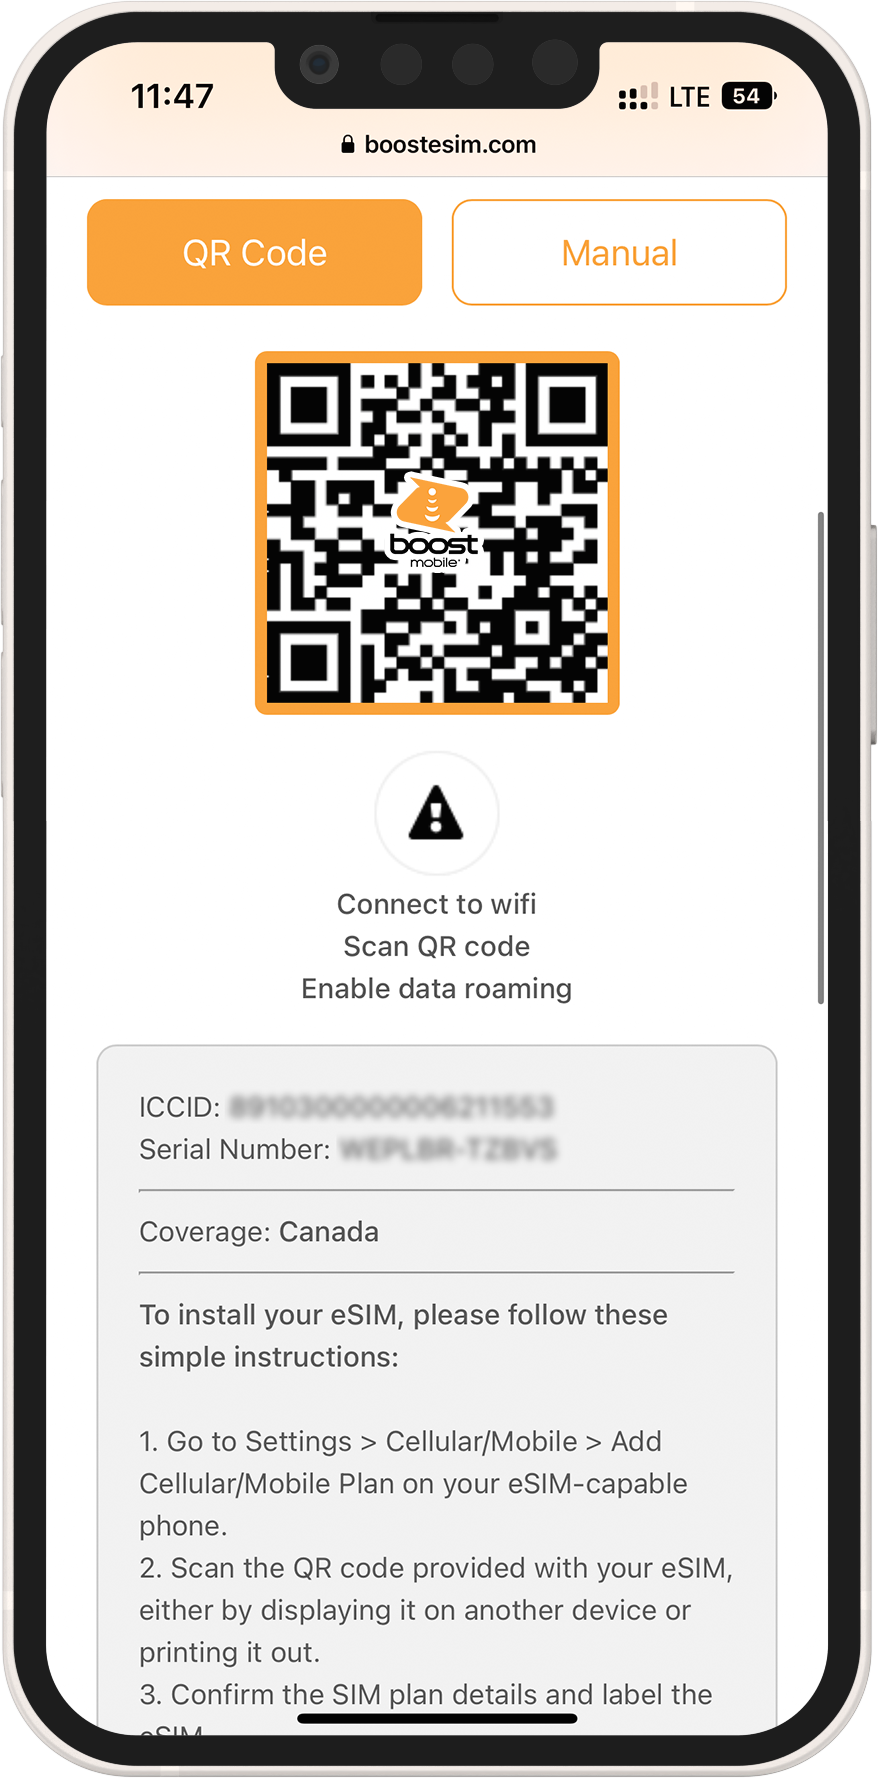
1. Screenshot the eSIM QR code from the App/email
2. Settings > Cellular > Add eSIM > Use QR Code > Open Photos
3. Select the QR code image from the Camera Roll.
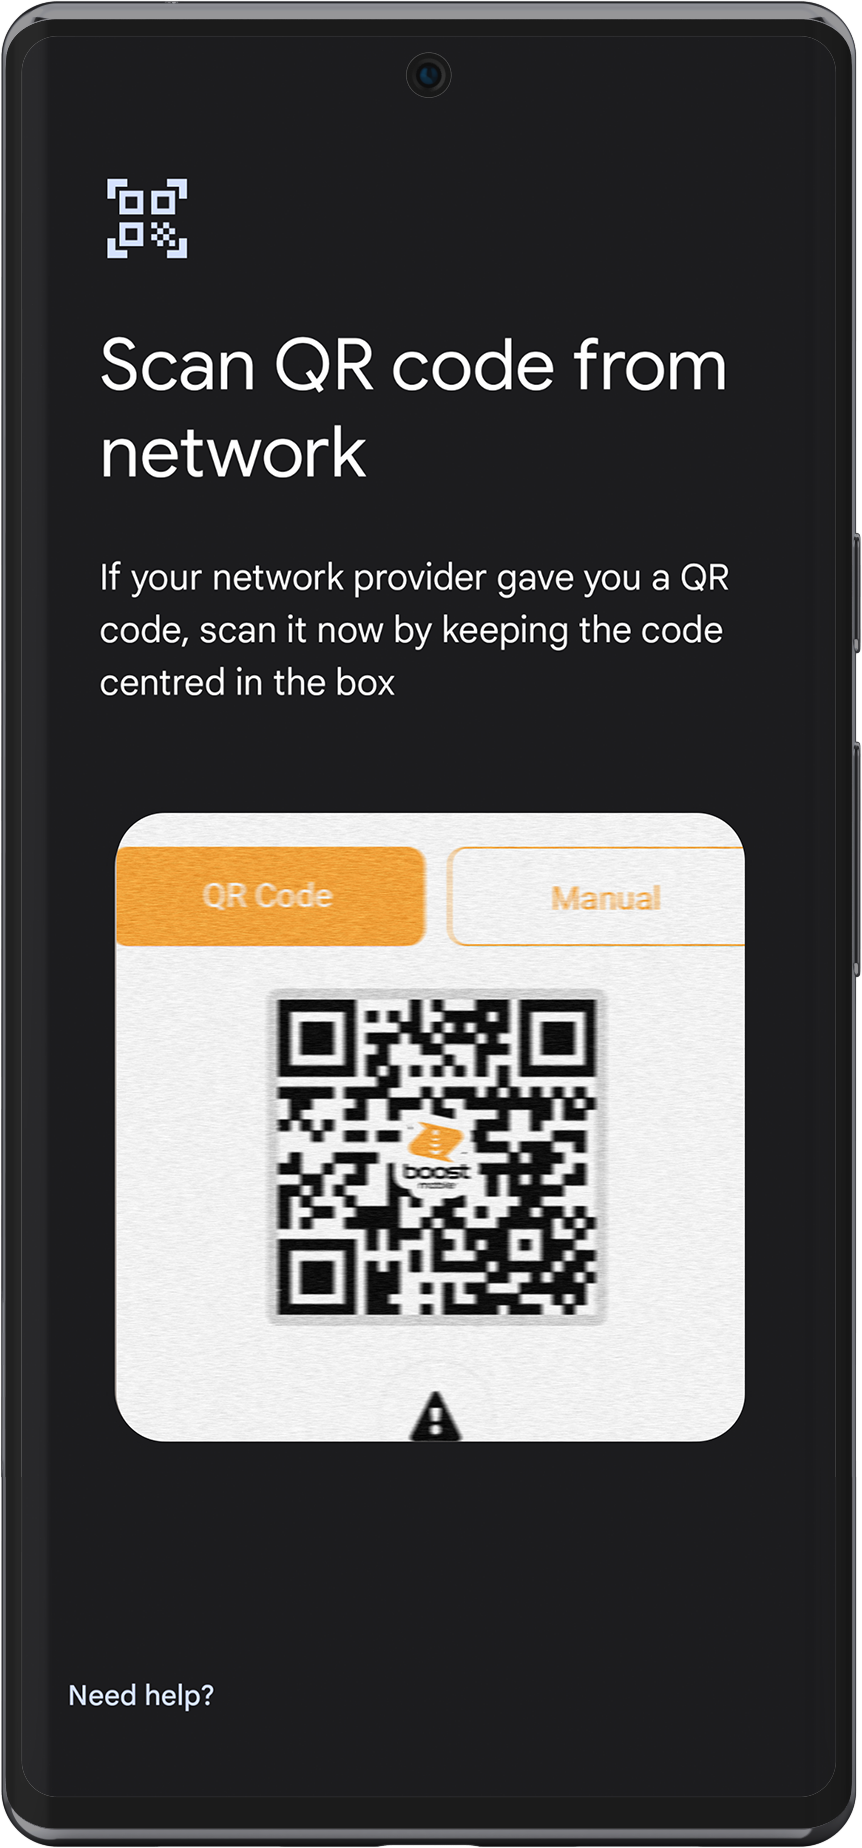
1 ➜ Open your camera
2 ➜ To scan the QR code, use your printed QR code or another device that displays the QR code.
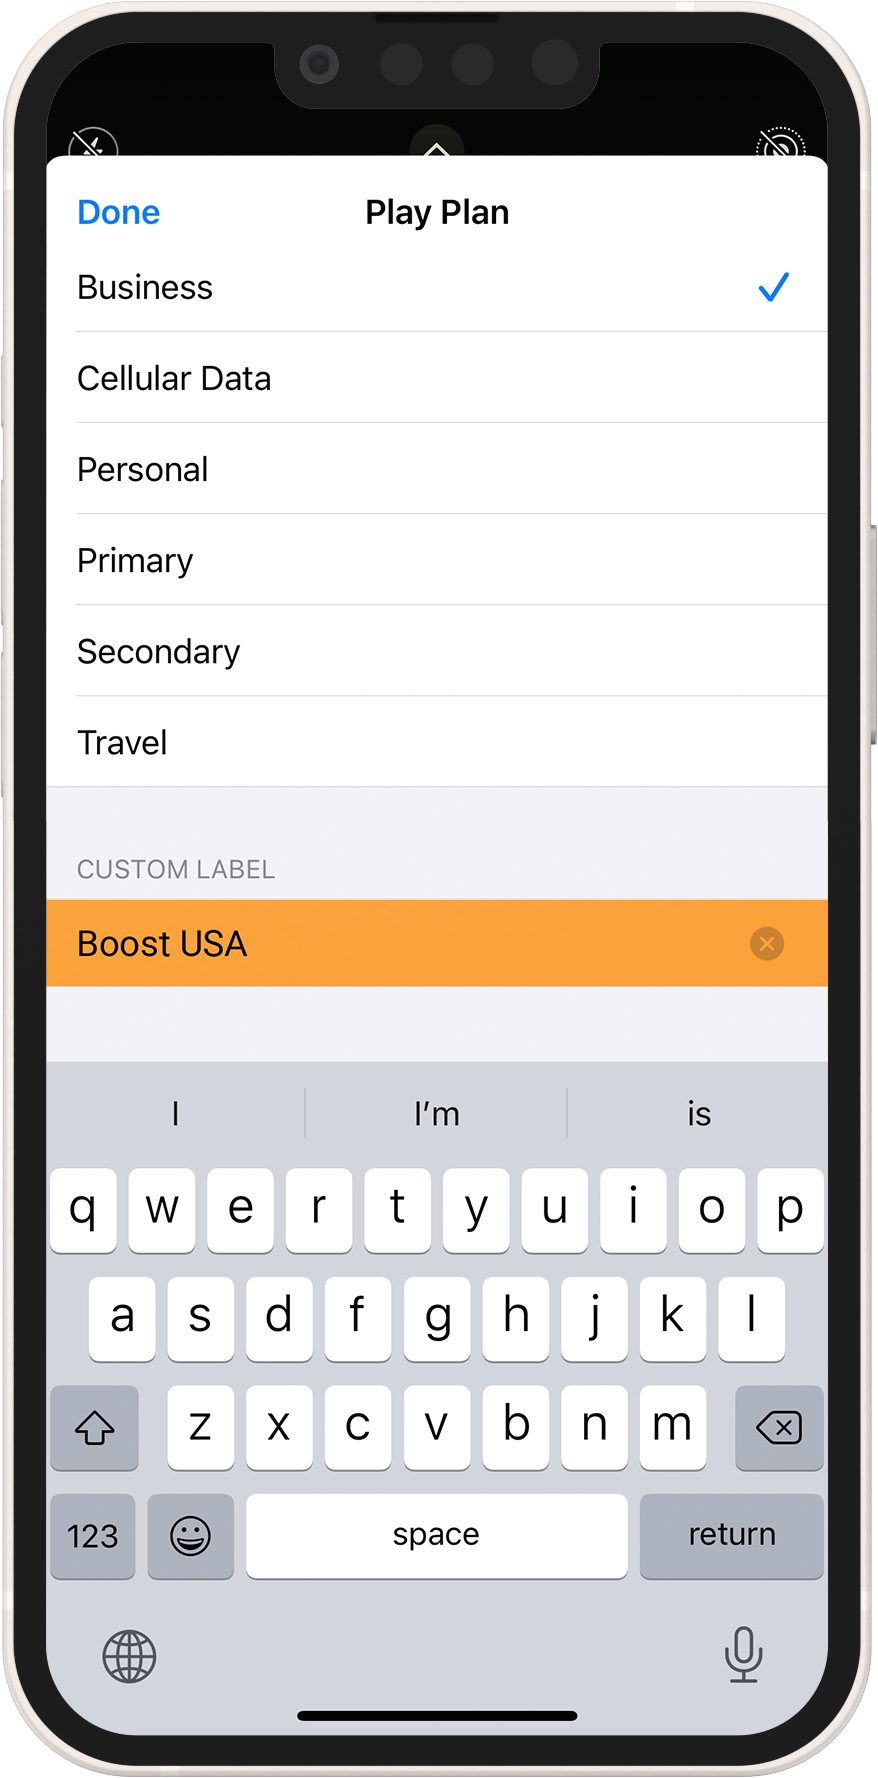
3 ➜ Choose a label for your eSIM
4 ➜ Select your eSIM for cellular data only under the Default Line page
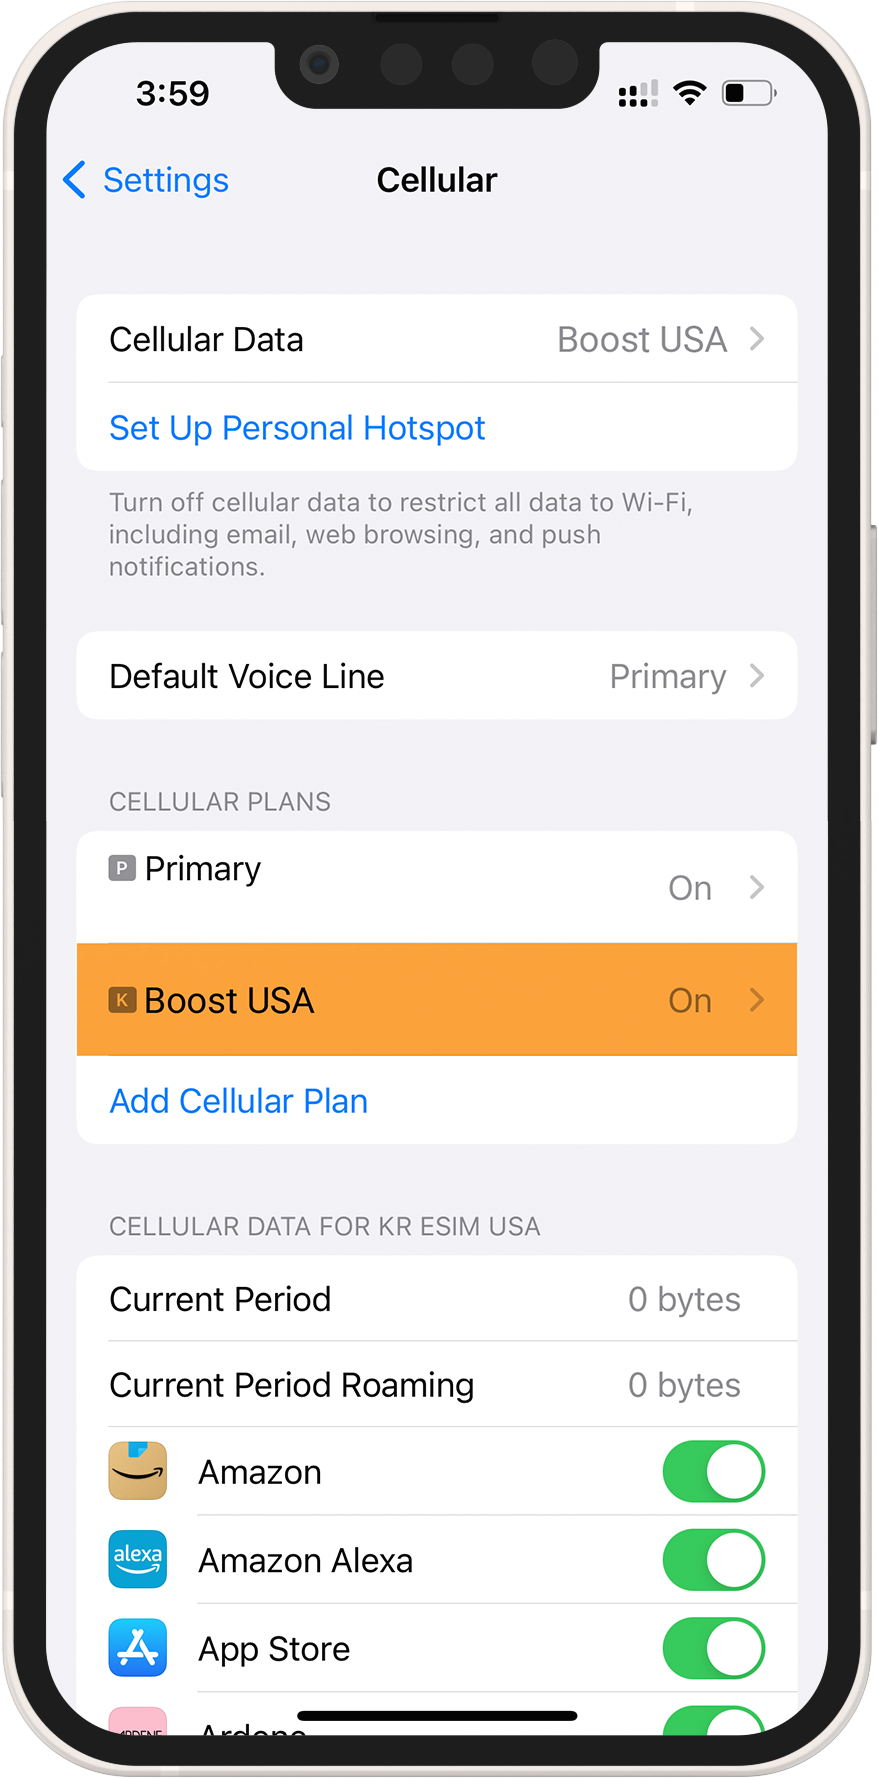
5 ➜ Your new eSIM should appear in your Cellular Data or Mobile Data Plans
6 ➜ Select your newly activated eSIM plan
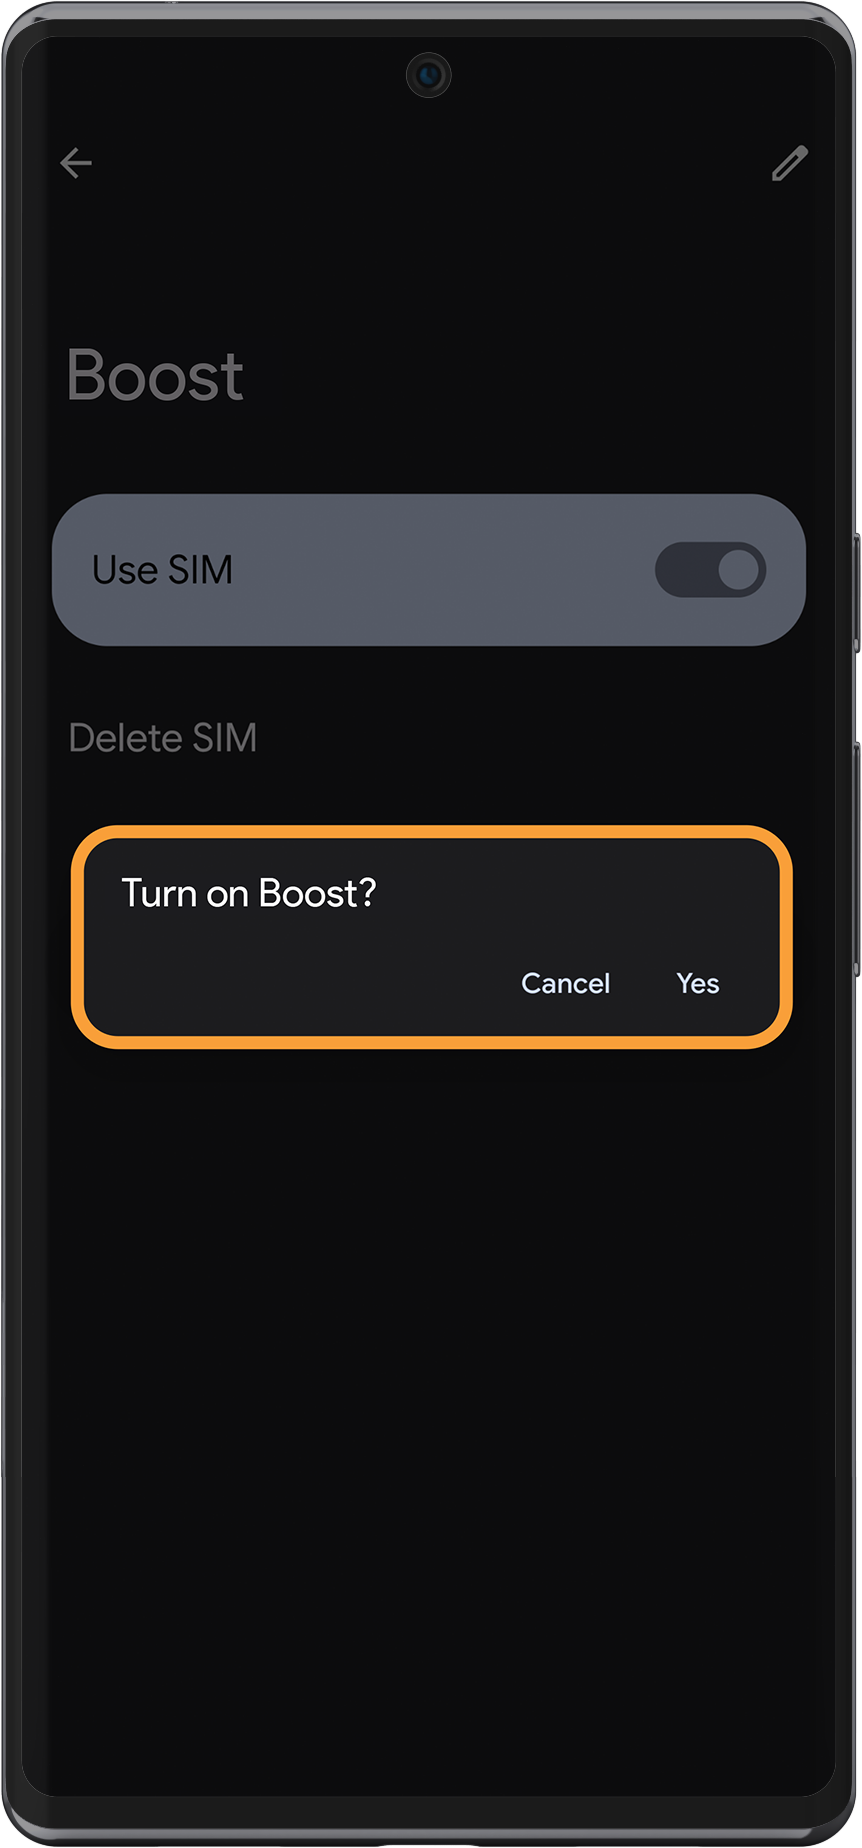
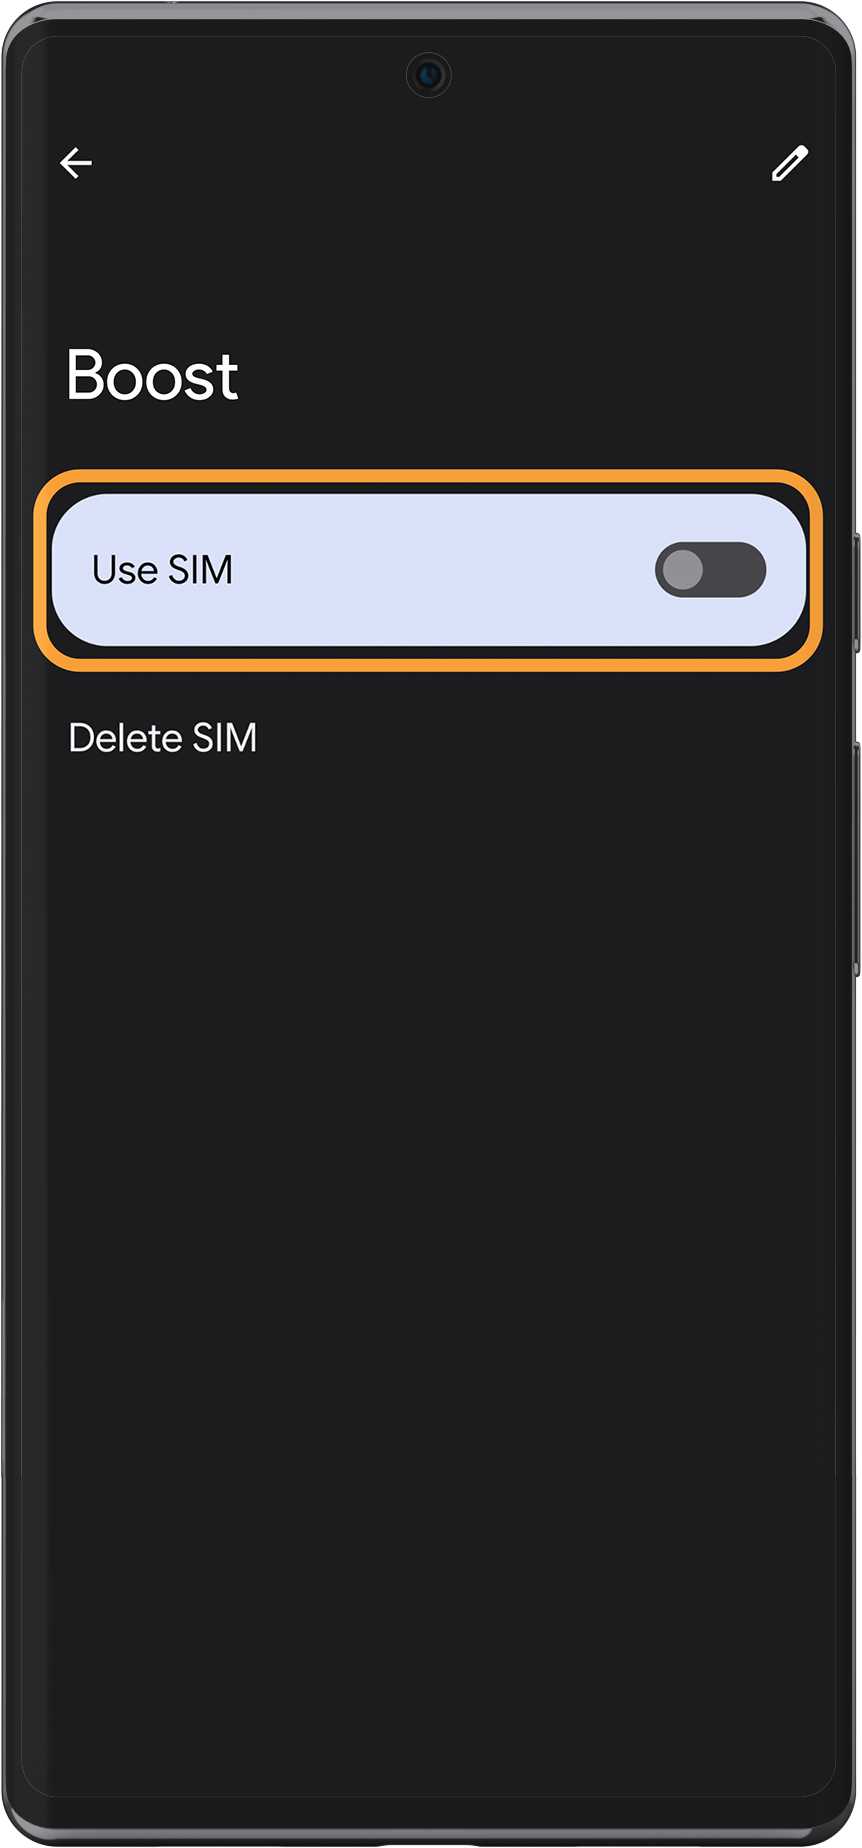
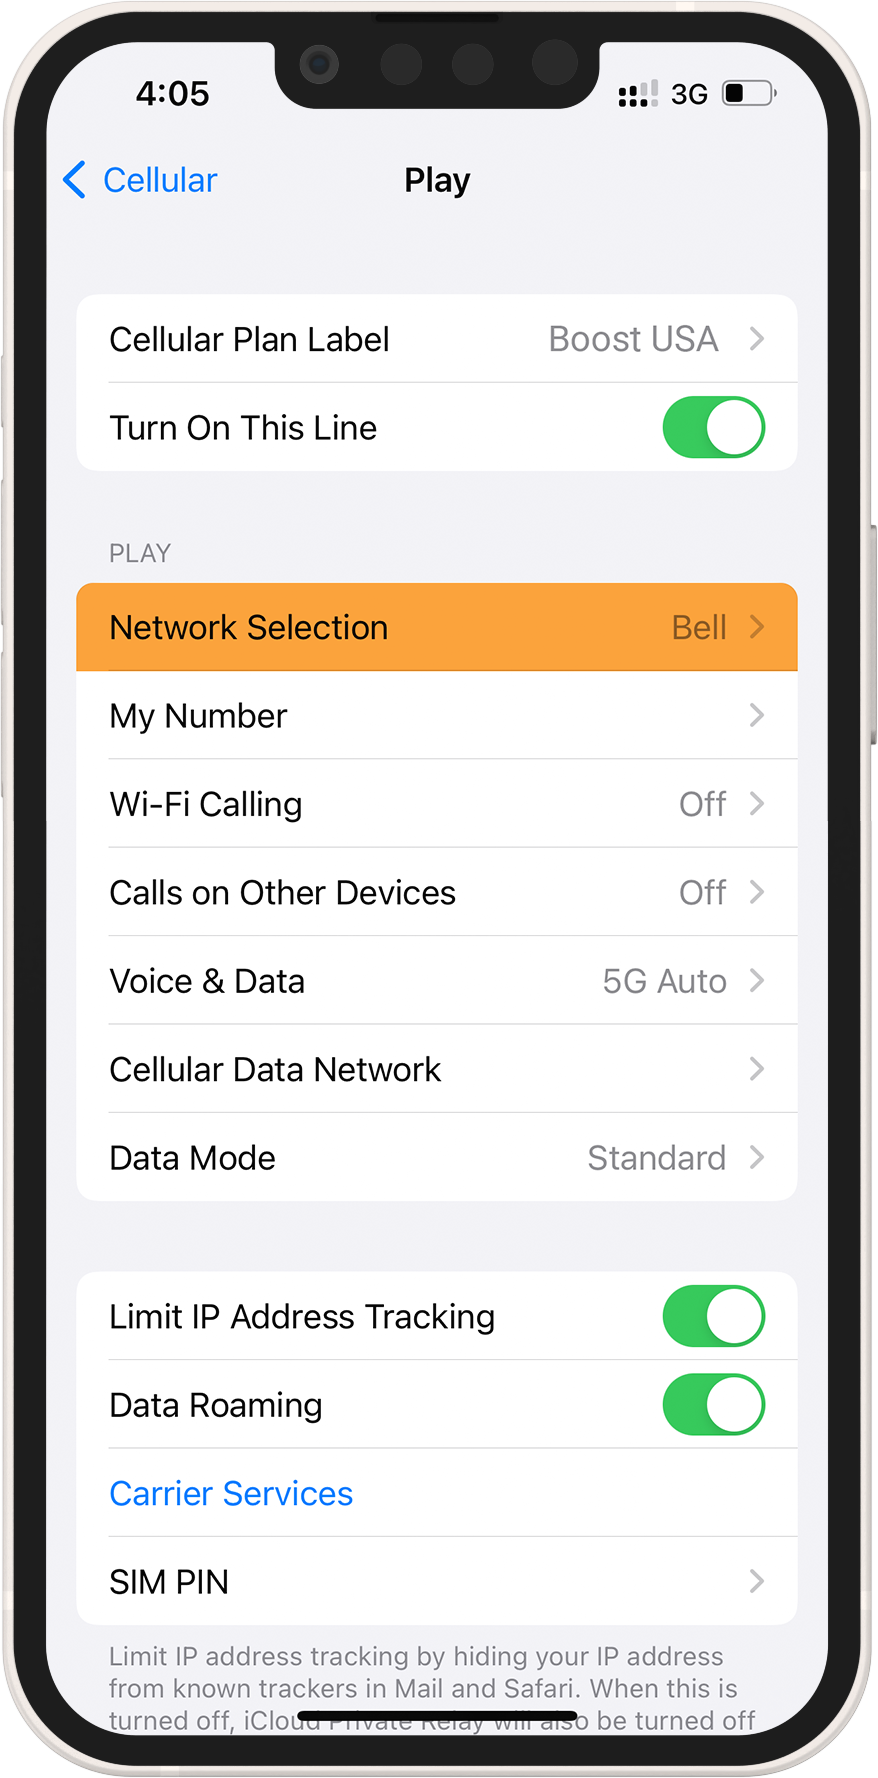
7 ➜ To enable data roaming on your eSIM, toggle the TURN ON THIS LINE switch

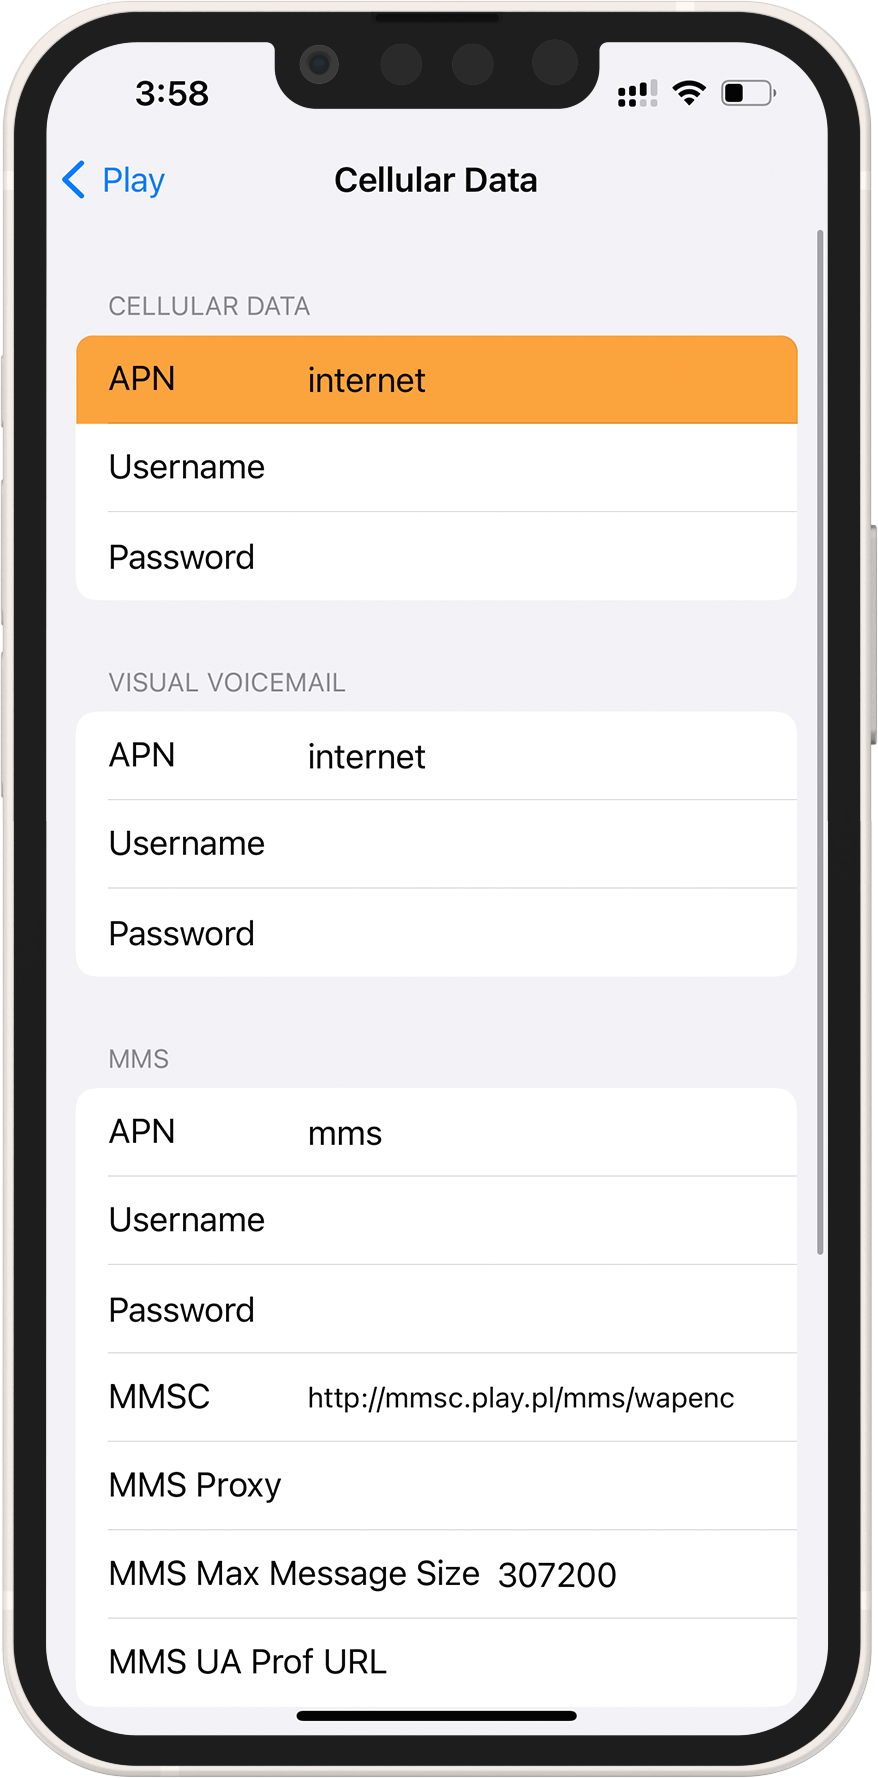
8 ➜ On the same page, select Cellular Data Network and, if necessary, enter the APN. The APN details can be found in the eSIM installation info on your order/account.
9 ➜ Return to Settings > Cellular or Mobile Data > Cellular Data
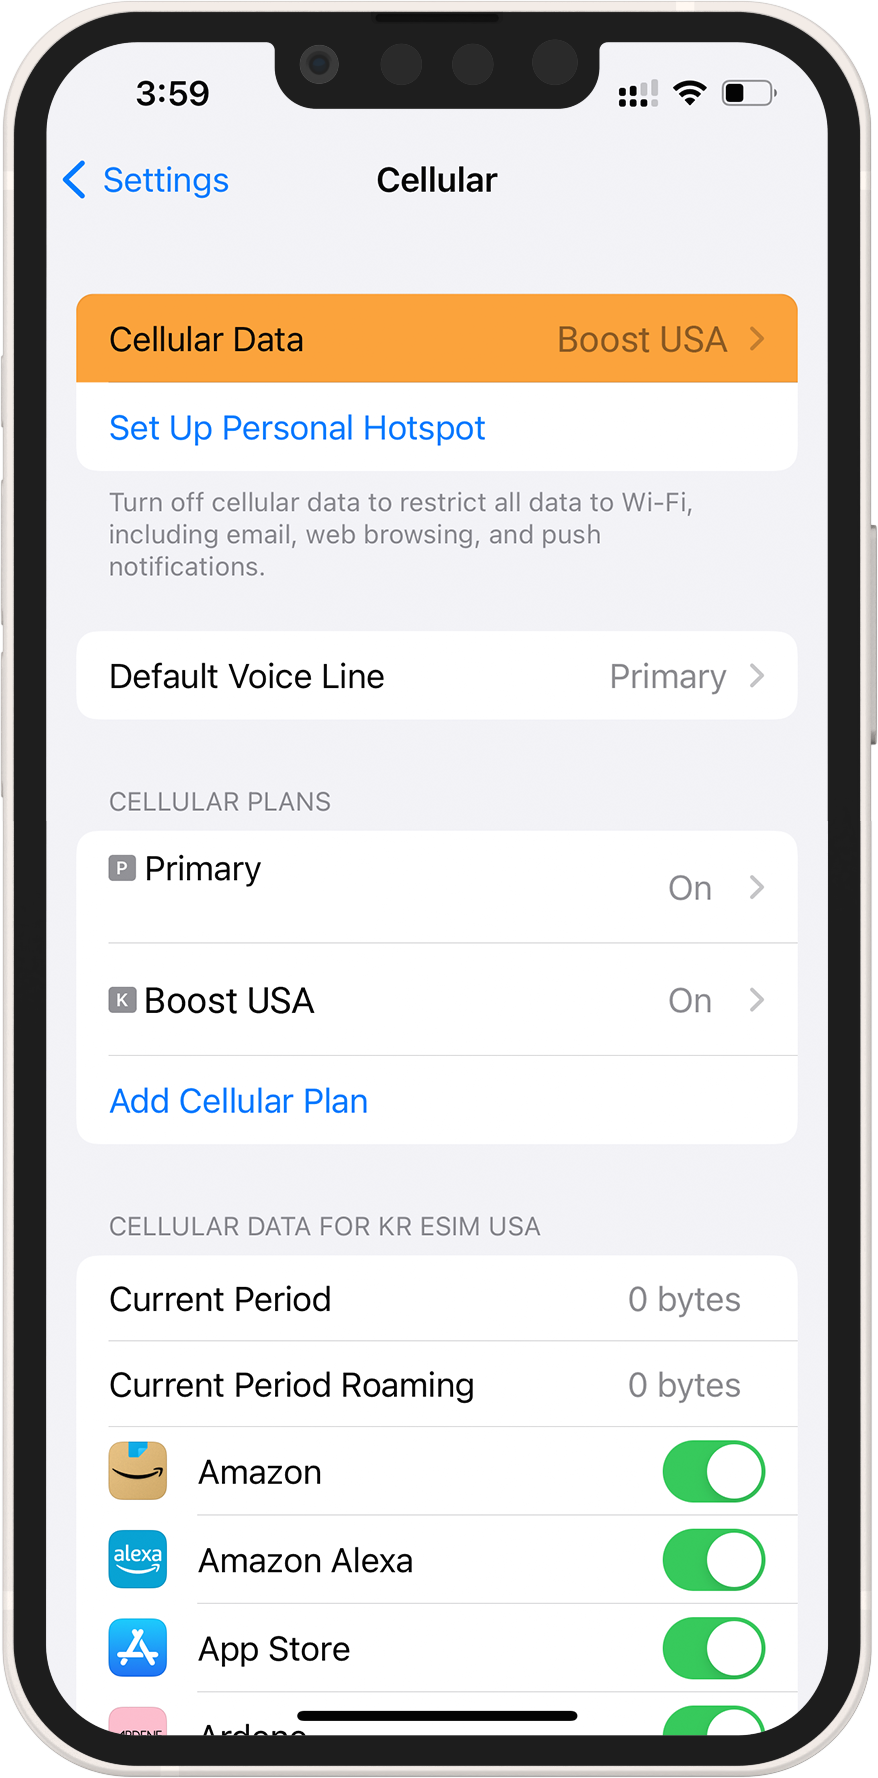
10 ➜ Choose between Cellular Data and Mobile Data for your eSIM. Turn off "Allow Cellular Data Switching" to avoid charges on your other line.

11 ➜ Navigate to your eSIM settings and select the supported network.
1 ➜ Save the details Manual details (SM-DP + Activation Code) received in your order

2 ➜ Go to Settings > Cellular or Mobile Data > Cellular Data

3 ➜ On the bottom select ENTER DETAILS MANUALLY

4 ➜ Insert the SM-DP + Address and Activation Code saved in the 1st step

5 ➜ Choose a label for your eSIM
6 ➜ Select your eSIM for cellular data only under the Default Line page
7 ➜ Your new eSIM should appear in your Cellular Data or Mobile Data Plans
8 ➜ Select your newly activated eSIM plan
9 ➜ To enable data roaming on your eSIM, toggle the TURN ON THIS LINE switch
10 ➜ On the same page, select Cellular Data Network and, if necessary, enter the APN. The APN details can be found in the eSIM installation info on your order/account.
11 ➜ Return to Settings>Cellular or Settings>Mobile
12 ➜ Choose between Cellular Data and Mobile Data for your eSIM. Turn off "Allow Cellular Data Switching" to avoid charges on your other line.
13 ➜ Navigate to your eSIM settings and select the supported network.